Instagram’s clearly where your business needs to be in 2022. It’s where 9 in 10 users follow business accounts, proving that there’s ample opportunity for your brand to gain the followers and engagement it needs to grow. And when it comes to creating new ways to engage with audiences, we’ve seen a couple of interesting options. From stickers to polls and swipe-up functionality, there definitely is a lot for brands to work with.
But there’s another option available, one that allows your brand to get even more engaging. AR filters are available and they are helping create interesting and ways of helping your brand get exposed to more people. But what are Instagram AR filters?
How to make your own Instagram AR Filters:
What is an Instagram AR Filter?
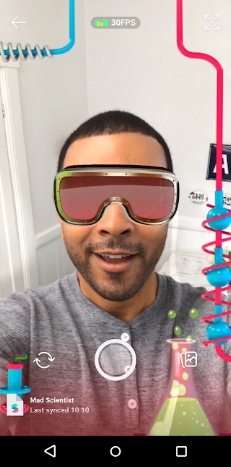
Augmented reality (AR) filters are computer-generated effects designed to be superimposed on real-life images. AR filters work with your camera, adding a layer or imagery in the foreground or background of your image. There’s a good chance you’ve come into contact with an AR filter in one way or another on Instagram. For example, the Fresh AR Prince filter is a throwback to Will’s Smith iconic role as The Fresh Prince of Bel-air.
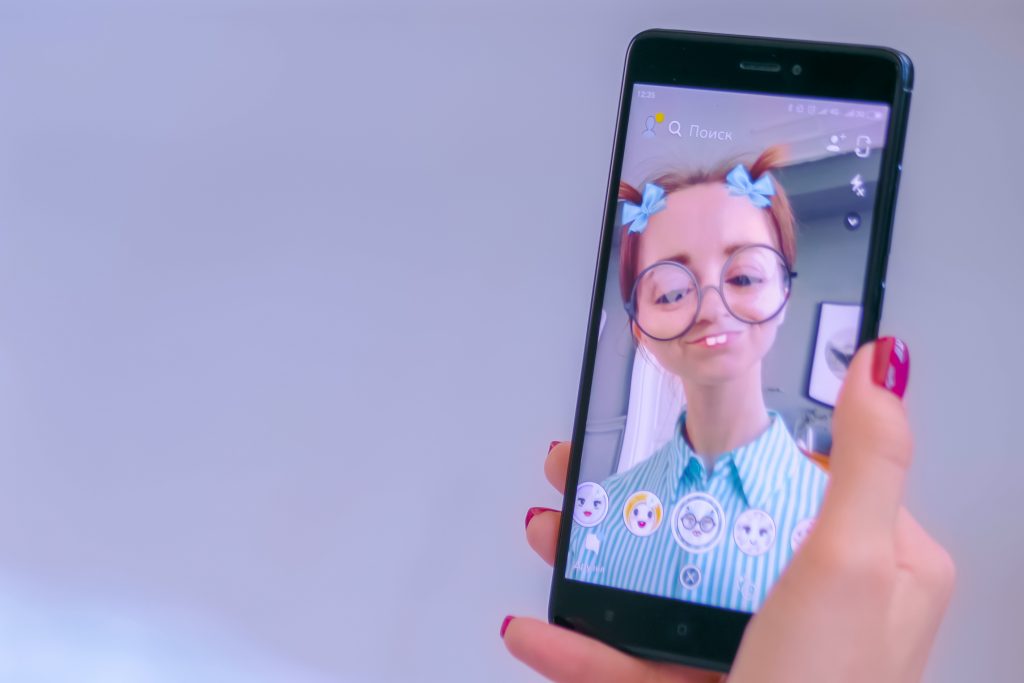
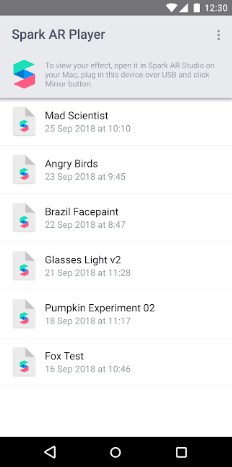
While Instagram AR filters were introduced back in 2017, it wasn’t possible for anyone to create their own AR filters until recently. Facebook released its in-house AR filter application called Spark AR Studio, a tool that gives you the chance to build your very own Facebook and Instagram AR filters. What’s more, Spark AR Studio Player is also available on Google’s Play Store for Android devices and Apple’s App Store for iPhones. The app gives users the chance to see what their AR filters will look like on a smartphone. The filter adds a hat to selfies or adds graffiti on the background if you flip your camera.
Source: instagram.com
What is in Spark AR Studio?
Spark AR Studio makes it possible to customize images and videos for both Facebook and Instagram. While creating your own AR filters sounds like a complex undertaking, Spark AR Studio was built to make the process easy. It also comes with a host of features. Here’s a breakdown of each feature and what it enables you to create:
Codeless Design
Codeless design isn’t a new concept. Today, many applications for mobile and design websites use drag-and-drop functionality. In Spark AR Studio, the same concept applies. You can use visual programming to add interactive elements, animate objects you design, and build logic based on how your object should react in response to interactions with it. Spark AR Studio also allows you to create custom textures and materials to use in your scene.
Import Objects and Sounds
Building your own Instagram AR Filter requires adding objects to your canvas. Spark AR Studio enables you to add your own sound files and 3D objects which can then be manipulated for the desired look, feel and interactivity. If you’re new to AR filter design, Spark AR Studio offers a free library filled with objects you can use. These are all high-fidelity models available through a partnership between the social media giant and Sketchfab.
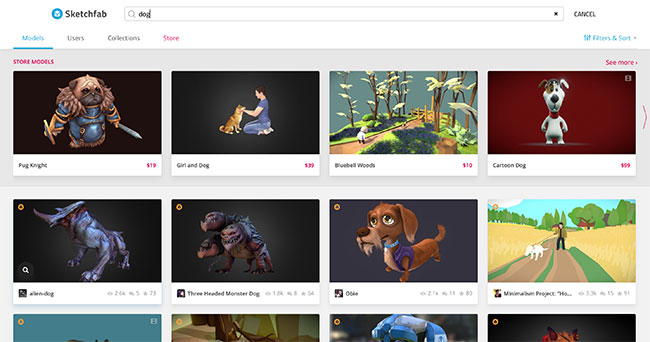
Source: sketchfab.com
Publish Effects to Instagram
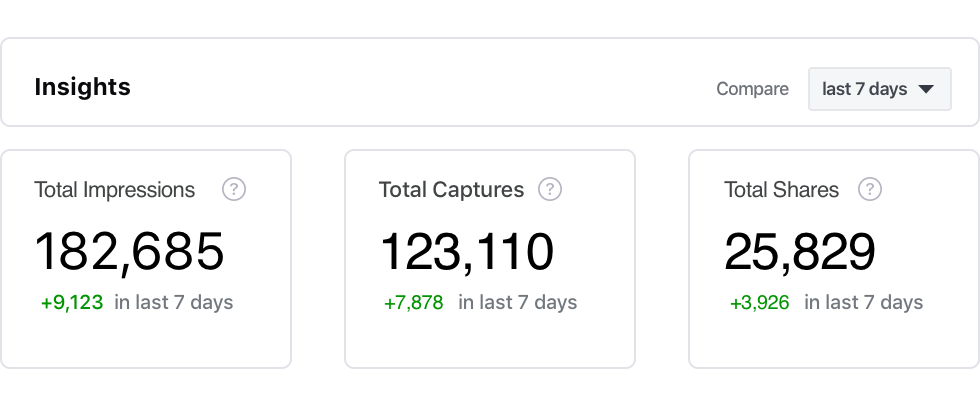
Nothing says convenience like the ability to publish your AR filter directly to Instagram. Once produced, Spark AR Hub helps you submit your AR filter for approval. The process can take days, and if your AR filter meets the various guidelines, it will appear for use. Spark AR Hub also gives creators the opportunity to manage and understand your AR effect performance across Facebook and Instagram.
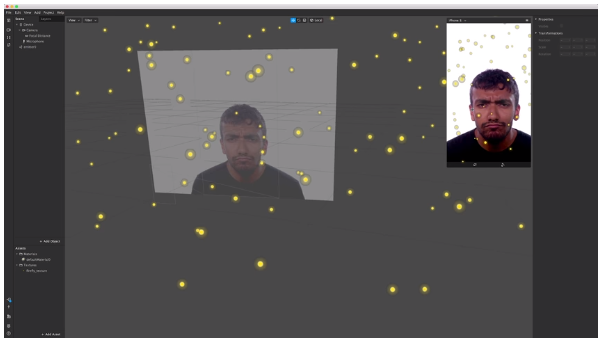
Create People Effects
Instagram AR filters allow you to extend the functionality of your filters with effects which can be applied to faces. This creates a more interactive experience for users. As Spark AR Studio allows for logic to be added to filters, you can design yours to react to movements on a subject’s face.
Features include:
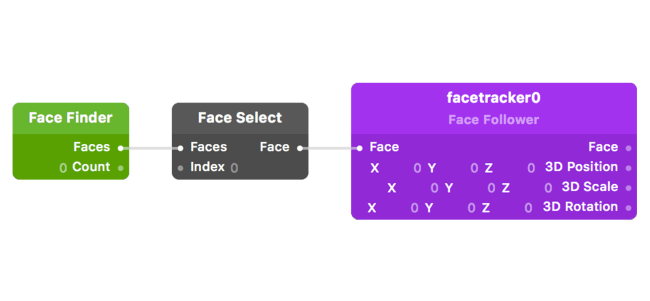
Make a face
Spark AR Studio allows advanced design capabilities and allows you to create filters that apply facial tracking for interactive and realistic effects.
Sync Effects With Movement
Elevate your filters for even more creative user experiences by applying sync and movement effects. These are based on gestures your users make with their hands.
Create World Effects
World effects allow you to incorporate various effects into a scene and then apply the scene to any image or video. Scenes and objects can be applied to surroundings and vehicles, making for an immersive AR experience.
Features include:
Connect Effects With Objects and Places
Spark AR Studio leverage advanced plane tracking functionality that makes the application of various objects into scenes possible. The plane tracker can be used to track surfaces, recognize objects within a frame and understand various locations.
Transport People to new Places
One of the more exciting features is the ability to create entire backgrounds that can be added to images and videos. These backgrounds transform content more than other objects can.
Educational Library
Spark AR Studio also comes with a robust collection of educational content. They offer tutorials for each for the features above, making it easy to start creating your own Instagram AR filters. They also have FAQs answering almost any question about features, functionality and how to get the best out of your Spark AR Studio experience.
How to Create Your Own Instagram AR Filter
Cretating your very first Instagram AR filter will mean learning a few new ideas and terminology, but nothing you can’t grasp. Here’s a step-by-step guide on how to get started creating yours.
Step 1: Download Spark AR Studio
Spark AR Studio is a desktop application and comes in at 464 MB in size. While relatively small, it’s a powerful tool that you’ll find very easy to use the more you work with it. It is currently only available for Mac and Windows users with no mention if Linux users will see a version of the app. If you are a Linux user, consider using Wine, a popular compatibility layer designed to allow Linux users to install and enjoy Windows applications. While we haven’t tested Wine and
Spark AR Studio, give it a try, it may work.
Step 2: Get Familiar With the Platform
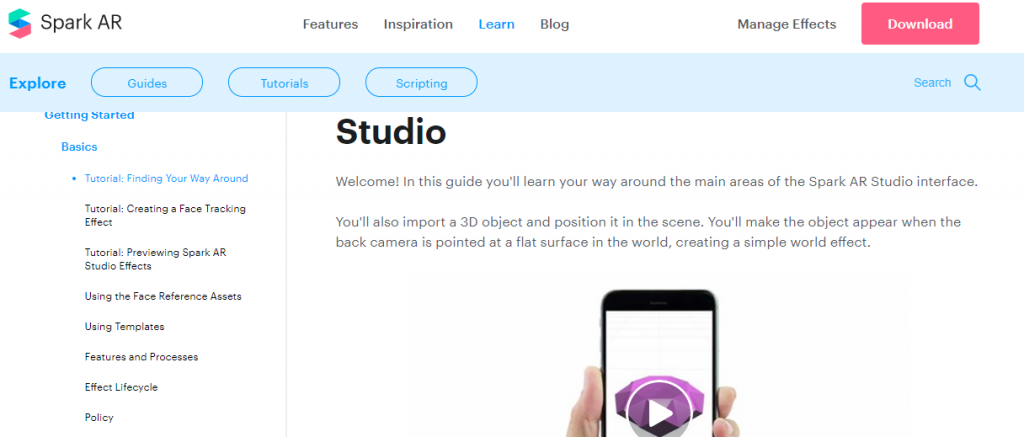
Once installed, we recommend that you take some time to cover a few tutorials to get familiar with the platform. Spark AR Studio comes with a helpful welcome tour. It lasts five minutes and will help you get familiar with most aspects of the platform.

If you need more guidance, head to the learning centre where you’ll find a collection of tutorials. The Getting Started section includes basics that will help you quickly come up to speed with features and how to navigate Spark AR Studio. It also includes tutorials on creating a face tracking effect, previewing Spark AR Studio effects, using the face reference assets, using templates, features and processes, effect lifecycle, policy, and more.
Step 3: Adding Your Object
Next, pick the type of AR filter you’d like to create. In our example, we’re going to create a world object. This option allows us to place a 3D object in a real-world setting.
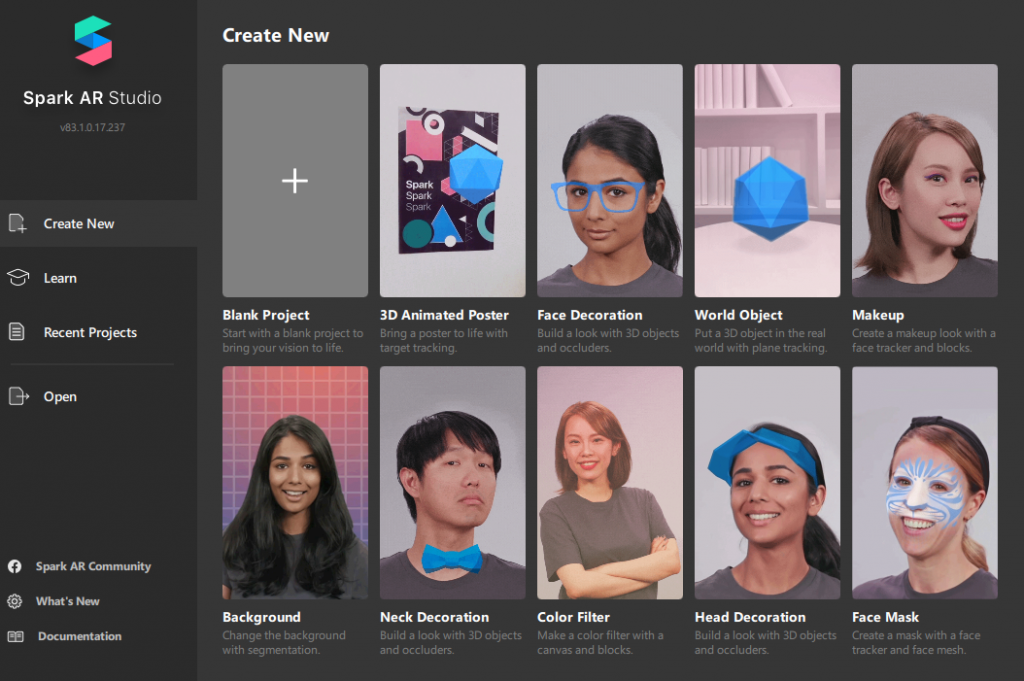
To get started, click on the project of your choice and you’ll be transported to a canvas, also called the Viewport, with your object placeholder preloaded.
Note: if this is your first time using Spark AR Studio, you will need to accept their policy agreement before gaining access to your canvas.
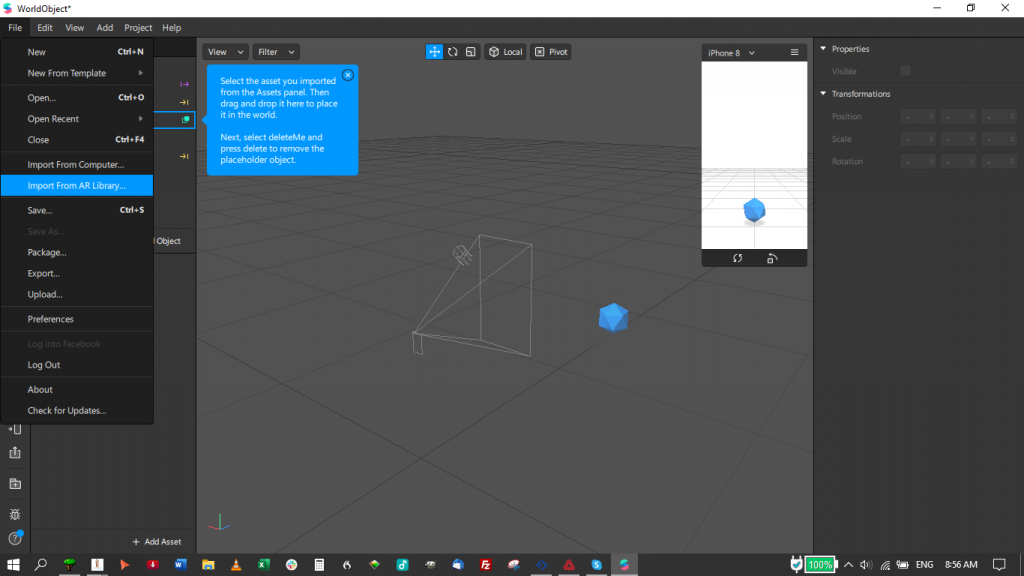
The Viewport may look like a complex canvas, but remember to use the tutorials section for guidance on using each feature if you get stuck. When in the Viewport, you’ll need to add an object. You can import one or access Spark AR Studio’s growing library of objects. We’re going to use the AR Library to import an object. To follow along, click on File in the main menu (top left of application), then click on Import from AR Library.
A new window will open with various options. Select 3D Objects from the left-hand menu.

Once you’ve found your object, click on the Import Free button.
As Facebook uses Sketchfab’s library of assets, you’ll need to create a Sketchfab account or log into their site using your Facebook, Google or Twitter account.

Adding Sound
While in the AR Library, you have the option to add sound to your AR filters and can import clips directly from the library.
Step 4: Add Effects
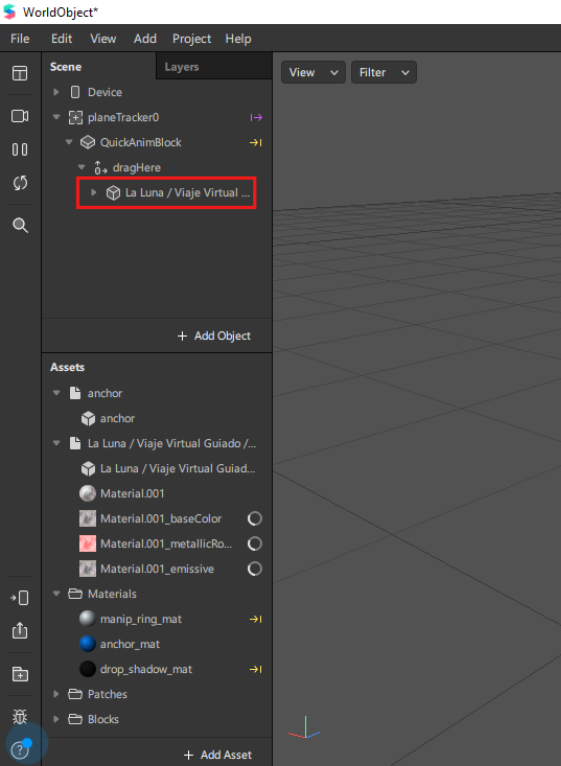
With your object in the Viewport, it’s time to add effects. These will relate to how your object reacts to user manipulation. Effects include how your object will move and how it will look when positioned at different angles in the real-world. For our object, we’re going to use a rendering of the moon. To animate our object, we’ll drag-and-drop it from the Assets panel into the Scene panel, just below the “drag here” menu item.
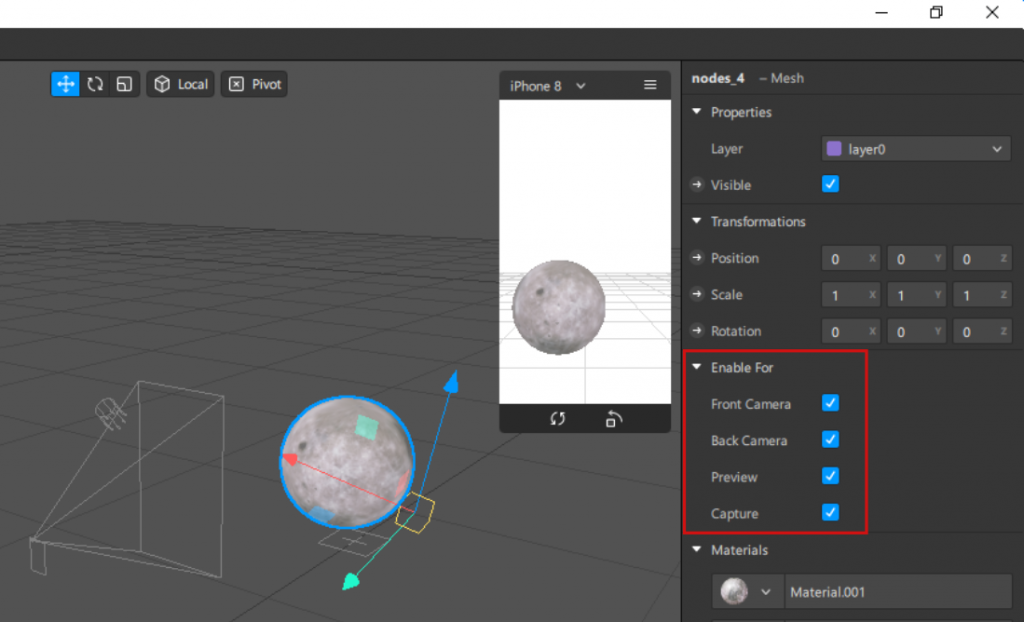
With our object in place, we can begin to change its colour, there are various ways to manipulate it. You can:
- Change the directional light to give a 3D object more depth and realism.
- Enable and disable appearance on front cameras, back cameras, or both.
- Alter the animation of your object.
- Add more effect, like additional animations, textures and materials.
Step 5: Test Your New Effect
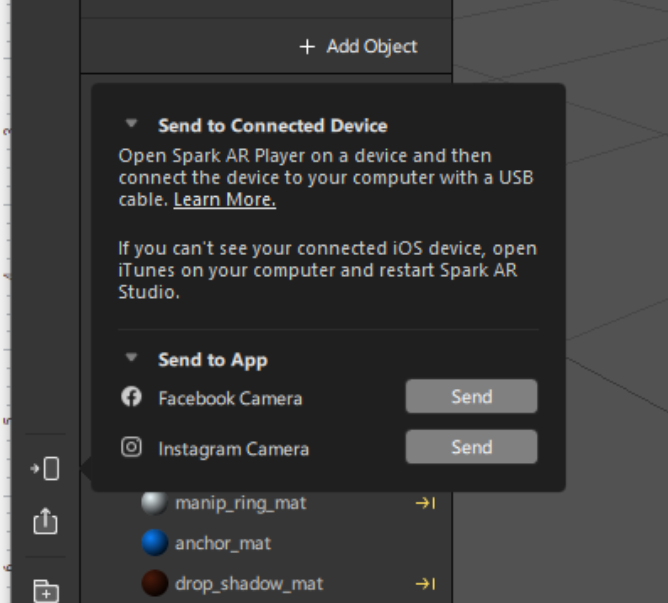
To test your new AR filter, you can send your test file to Instagram or Facebook. This will give you a preview of how your filter works on each platform.
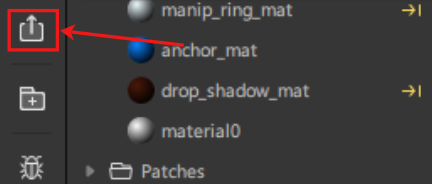
Step 6: Publish Your Effect
When you’re ready to publish your AR filter, click on the “upload” button in the bottom left-hand corner of the app.
AR filters are subject to review by Facebook. The process can take a few days. Ensure your filter meets Spark AR’s policies and guidelines. For more on creating filters that are approved without fail, read the submitting newly created effects for approval.
Wrapping This Up…
Instagram AR Filters are a great way for brands to produce interactive content to stay top-of-mind with their audiences. As your filters can be applied to Facebook and Instagram, you have access to a large audience filled with users who love customizing posts and stories, meaning more reach for your brand.